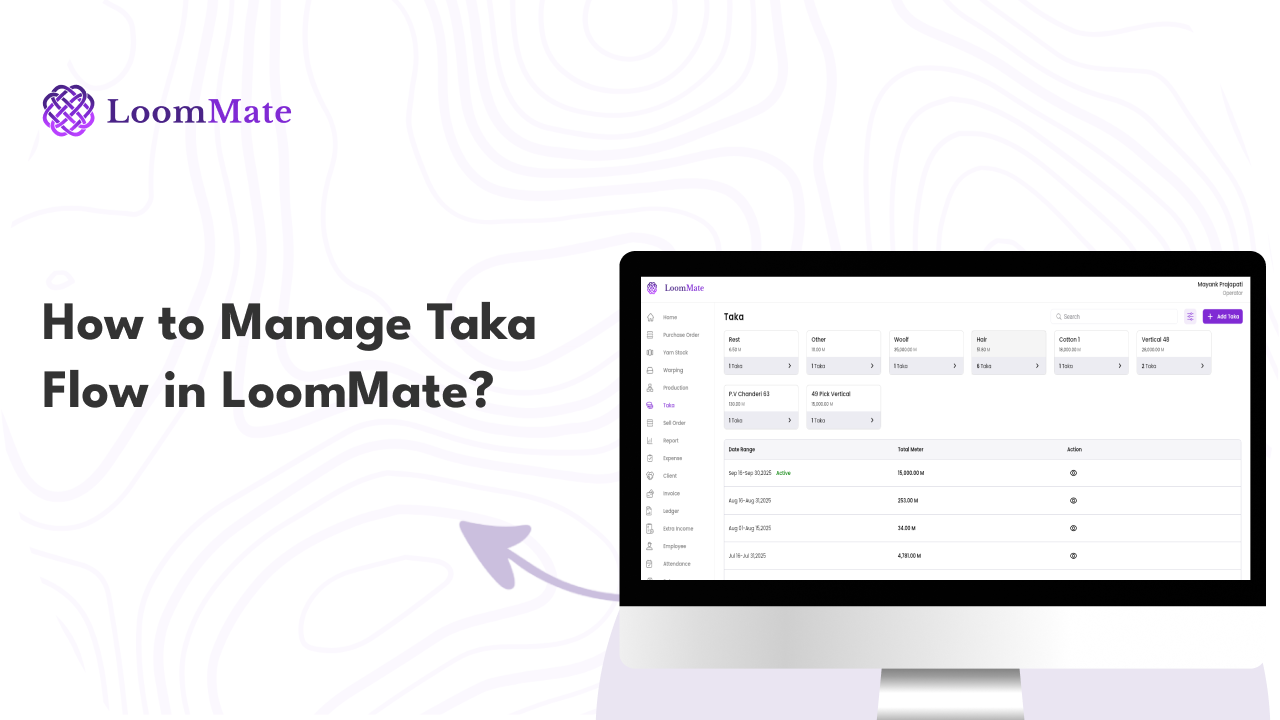
How to Manage Taka Flow in LoomMate
How to Login and Access Dashboard in Loommate? In textile operations, every taka (fabric roll) matters. LoomMate’s Taka Flow feature helps you track each roll, from production to sales, so you can maintain complete control over your inventory and avoid confusion. Video Walkthrough (Watch the video below for a complete step-by-step tutorial. Prefer reading? Continue with the guide.) https://loommate.com/wp-content/uploads/2025/09/Taka-Flow.mp4#t=,12 Step-by-Step Guide to Managing Taka Flow Step 1: Open the Taka Flow Section From the Dashboard, go to Production → Taka Flow. Click on + Add New Taka to start. Step 2: Enter Taka Details Fill in the following information: Loom / Machine Number Taka Number (auto-generated or manual) Fabric type / Yarn type Length (in meters or yards) Weight (optional) Step 3: Assign Status Select the current status of the taka, such as: In Production Ready for Inspection Approved Ready for Sale Step 4: Save the Taka Record Click Save & Continue to store the entry. The taka will now appear in your Taka Flow Dashboard. Step 5: Track Movement From the dashboard, you can monitor the movement of each taka: Production → Inspection → Warehouse → Sales. Update status as the roll moves through each stage. Troubleshooting Tips Duplicate Taka Number? Make sure each roll has a unique ID. Wrong entry? Use the Edit option before finalizing. Missing data? Ensure machine number and length are entered correctly to avoid mismatches. Next Steps Now that you know how to manage Taka Flow in LoomMate, you can: Link takas with Sell Orders for accurate stock updates Generate Reports to see production vs. sales performance Continue learning with our next guide: How to Add a Yarn Company in LoomMate
How to Manage Taka Flow in LoomMate Read Post »